Work Types
Adding a New Work Type
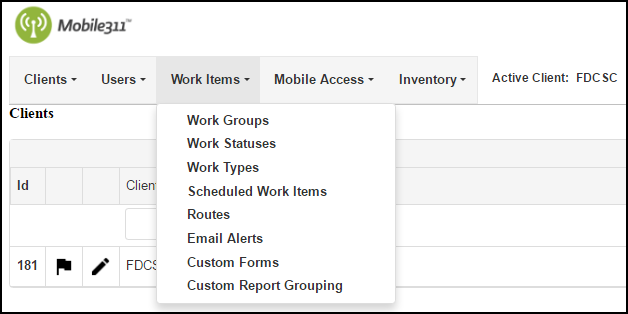
- Hover over the Work Items tab and select Work Types.
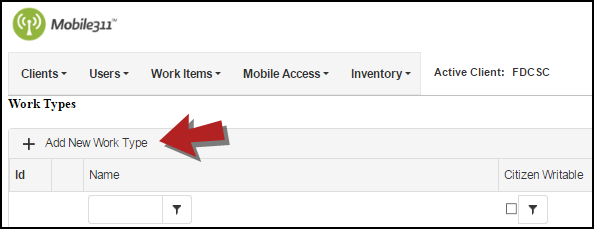
- Click on Add New Work Type at the top of the Work Types list.
- Enter a Name for the Work Type. When creating a Work Type name, enter a name that is as specific as possible to the job being performed.*Note: This is a required field.
Mobile App Settings
- To the right, you will see several check boxes that give the option to make certain fields required. Below are explanations of each option *Note: If none of the check boxes are selected, when a button is tapped on the mobile application, the work item will automatically be created and will not open allowing you to put in additional information.:
- Require Address Verification - If this box is checked, when you hit a button on the mobile application, a box will pop up and have an address that the GPS thinks you are closest to. You can verify or change the address to reflect that information.
- Require Comment - If this box is checked, when you hit a button on the mobile application, a box will pop up allowing you to enter in any comments.
- Require Photo - If this box is checked, when you hit the button on the mobile application, your devices camera will open allowing you to take a picture.
- Require Edit Form - If this box is checked, when you hit a button on the mobile application, the work item edit screen will open allowing you to enter in the Description, Address, Priority, and any Custom Forms.
- Disable Materials, Equipment, and Employees - If this box is checked, users will not be able to choose items from these field. *Note: This feature only applies to Android users. iOS devices will still be able to choose options even if this box is checked.
- Default Comment allows you to set a comment that will automatically show up in the Comment field on a Work Item when the Work Type is selected. Simply type the information into the Default Comment box.
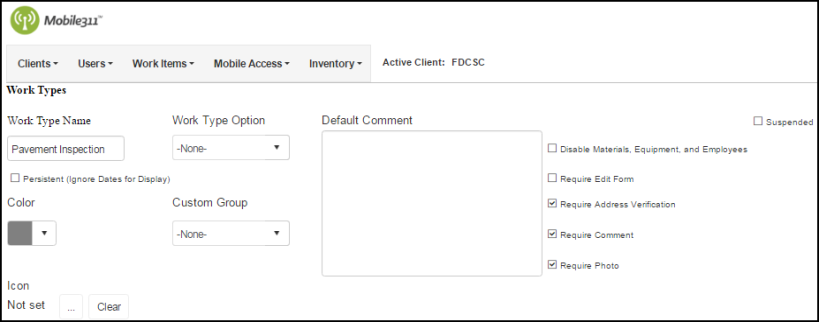
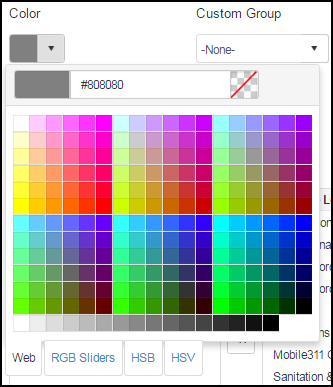
- Choose a Color for the Work Type. You have the option of choosing a preset color from the Web tab, or you can also create a custom color by clicking on one of the following tabs: RGB Sliders, HSB, or HSV. *Note: The color you choose will apply to the Work Item icon with this Work Type when looking at the map in the portal. The color will also correspond to both the buttons used to create a work item on the mobile application and the list view of work items in the app.
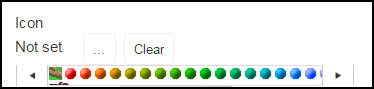
- You may also choose an Icon for the Work Type. Use the right and left arrows to scroll through the icon options and click on the icon to select it. *Note: If an icon is used, it will override the color selected for the Work Type.
- Select which Login Groups will have access to this Work Type by selecting them from the Available Login Groups box and using the left arrow to add them to the Work Type. Login Groups that have access to the Work Type will show in the Assigned Login Groups box. *Note: In order for users to be able to both create a new work item with the Work Type or see an existing work item with the Work Type, they will need to be assigned to a Login Group that includes that Work Type.
- If you have created Custom Forms, you can add them to a Work Type by selecting them from the Available Custom Forms box and using the left arrow to add them to the Work Type. You will see any active Custom Forms in the Available Custom Forms box. If a Work Type is using one or more Custom Forms, you will see the form name listed in the Assigned Custom Forms box. When the Work Type is selected on the work item form, the Custom Form will appear.
- You are also able to change the order of the Custom Forms by clicking on the up and down arrows.
![]()
- Set the Default Priority for the Work Type using the drop down menu. This priority level will be defaulted on all newly created work items. *Note: We recommend setting the default priority to 5-Medium, this will be the default priority, however it can still be changed if needed.
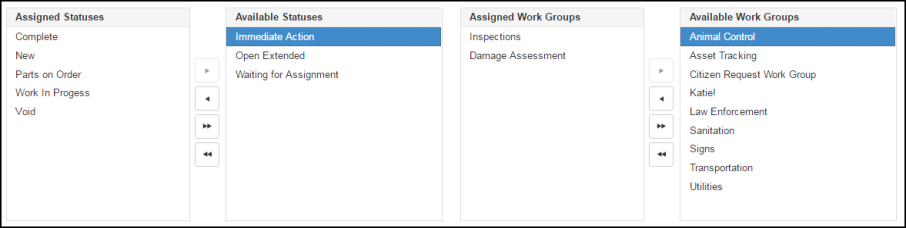
- Select the Statuses you want available for this Work Type by using the left arrows. If the Work Type is using a particular set of Statuses, they will appear in the Assigned Statuses box. *Note: You must include at least one default (i.e. New Request) and one final (i.e. Complete) status from the list.
- Add the Work Type to a Work Group by using the left arrows. You will see any Work Groups the Work Type is a part of in the Assigned Groups box. *Note: Work Types can be listed in more than one Work Group however for reporting, we recommend creating separate Work Types if you plan on using them in multiple Work Groups.
- If you are using GIS data in your Mobile311 account, you can assign GIS Lookups to your Work Types. GIS Lookups allow you to set the criteria to identify your GIS assets and tie them to your work items. Use the left arrows to move your GIS Lookups to the Assigned GIS Lookups box. Be sure to select one of the boxes next to a GIS Lookup to make it the default.
- Auto Assignments allow you to auto assign work items to users based on the selected Work Type. When a user creates a work item on the app and chooses a Work Type, the work item is automatically assigned to the appropriate users. *Note: Work orders submitted through the Citizen Portal will not trigger any auto assignment or automated email notifications associated with the selected work type. Use the left arrow to select what users need to be auto assigned. Users that will be automatically assigned to the work item will be listed in the Auto Assignment Logins box. *Note: If the auto-assigned users are out for the day and a work item is created with that Work Type, you are able to access the work item from the web portal and manually change the assignments on the work item.
- Once you have all information entered for the Work Type, click the Save button at the bottom of the page.

Editing a Work Type
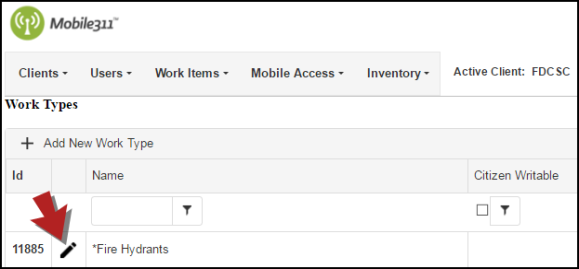
- Hover over the Work Items tab and select Work Types.
- Click on the pencil icon (
 ) next to the Work Type that needs to be updated.
- On the next screen, make any necessary changes and click the Save button when you are finished.
Suspending a Work Type
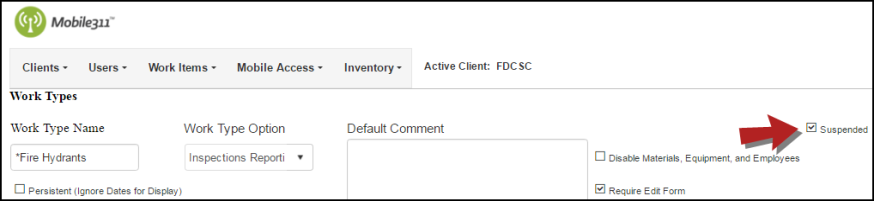
If you are no longer using a Work Type, you have the option of suspending it so that it can no longer be selected on a work item or appear in the Work Types list.
- Hover over the Work Items tab and select Work Types.
- Click the pencil icon () next to the Work Type that needs to be suspended.
- Check the Suspended box at the top of the page.
- Click the Save button when you are finished.